 Priority road or one junction: read the difference
A yellow diamond and a triangular priority sign do not give the same information about later junctions. Use the white learner car scenarios to learn when to reassess who goes first.

Step 1 — Identify the sign for your route. Priority road (B1) indicates a priority road (voorrangsweg).  End of priority road (B2) ends that status; it does not mean you must yield to everyone at every later junction.
Step 2 — 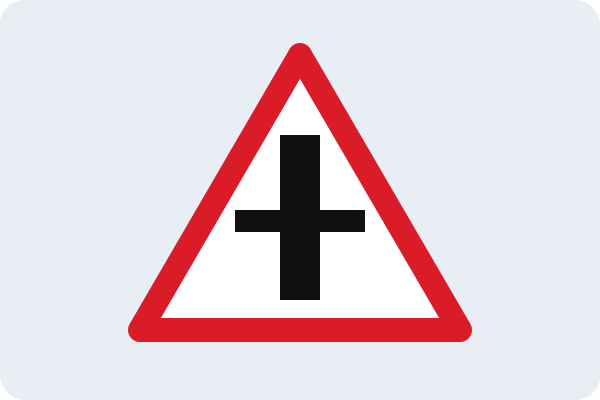 Priority junction (B3) indicates a priority junction. B4 and B5 indicate a side road on the left and right respectively. The thick line is the priority route. These triangular signs do not establish priority along the entire road ahead.
Step 3 — Beyond End of priority road (B2) and at later junctions, check the signs, markings, and road layout again. Without another arrangement, drivers from the right have priority at an uncontrolled paved junction. Width or a T shape creates no priority by itself.
Step 4 — 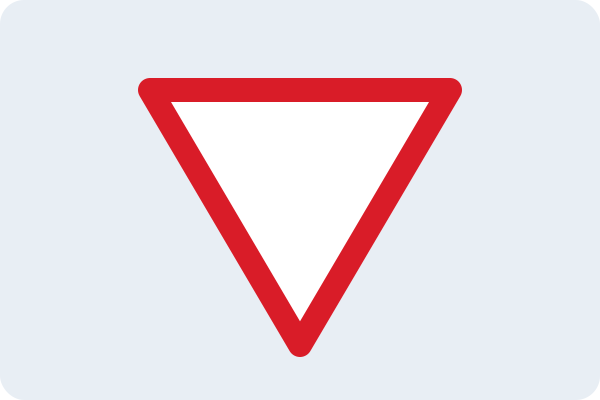 Give way (B6) requires yielding to drivers from both directions on the crossing road.
 Stop and give way (B7) adds a mandatory stop. Where there is a designated stop line, stop before it, then assess whether entering is safe.
Example 1 — You pass End of priority road (B2) and reach an uncontrolled paved T-junction. A car approaches from the right. The previous priority-road status no longer applies: let that car go first.
Example 2 — At Priority junction (B3), you pass the indicated priority junction. The next junction has no priority signs. Do not carry the first junction's priority over automatically to the second.
Example 3 — You queue behind a car at STOP. After it moves off, stop at the line yourself. If a hedge limits visibility, then improve your view cautiously without obstructing crossing traffic.
Watch out! — Having priority and being able to proceed safely are different things. If another driver clearly fails to yield, respond to the danger. Signs cannot guarantee other people's behavior.
Practical tip — First identify the scope: ‘road’, ‘this junction’, or ‘yield here’. Then check what other road users are actually doing.
Summary — 1. Priority road (B1): priority road. 2. End of priority road (B2): that status ends. 3. Priority junction (B3)/B4/B5: the indicated priority junction. 4. Give way (B6)/Stop and give way (B7): yield to crossing drivers from both directions. 5. Stop and give way (B7): also make your own stop at the designated stop line.
FAQ — Must I yield to everyone after End of priority road (B2)? No. End of priority road (B2) ends priority-road status; the applicable signs and rules then determine priority.
FAQ — Does the branch on B4 or B5 require me to turn? No. The symbol describes the priority junction's layout; it is not a mandatory direction.
FAQ — Is stopping at Stop and give way (B7) enough? No. You must also yield. If visibility is still insufficient, do not pull into the junction blindly.
Practice — Answer the three linked questions below about End of priority road (B2), the scope of B4, and making your own stop at Stop and give way (B7). Explain which sign or rule decides each answer.
Keep learning — Review Priority & junctions, Signs & road markings, and Uncontrolled junctions. Then test your application in a practice exam.